

What’s supported
Supported actions
This connector supports:- Read Actions, including full historic backfill and incremental read for all supported objects.
- Write Actions.
- Proxy Actions, using the base URL
https://{{.workspace}}.myshopify.com.
Supported objects
The Shopify connector supports reading from and writing to the following objects: All supported objects support incremental read. For objects and fields, you can also use Ampersand’s Object Metadata APIs to inspect what’s available for a specific connection.Example integration
For an example manifest file of a Shopify integration, visit our samples repo on GitHub.Before you get started
To connect Shopify with Ampersand, you will need:- A Shopify Partner account (to create an app): Shopify Partners
- A Shopify store to install and test the app. For development and testing, we recommend using a Shopify dev store. See Shopify’s documentation: Create dev stores.
Create a Shopify app
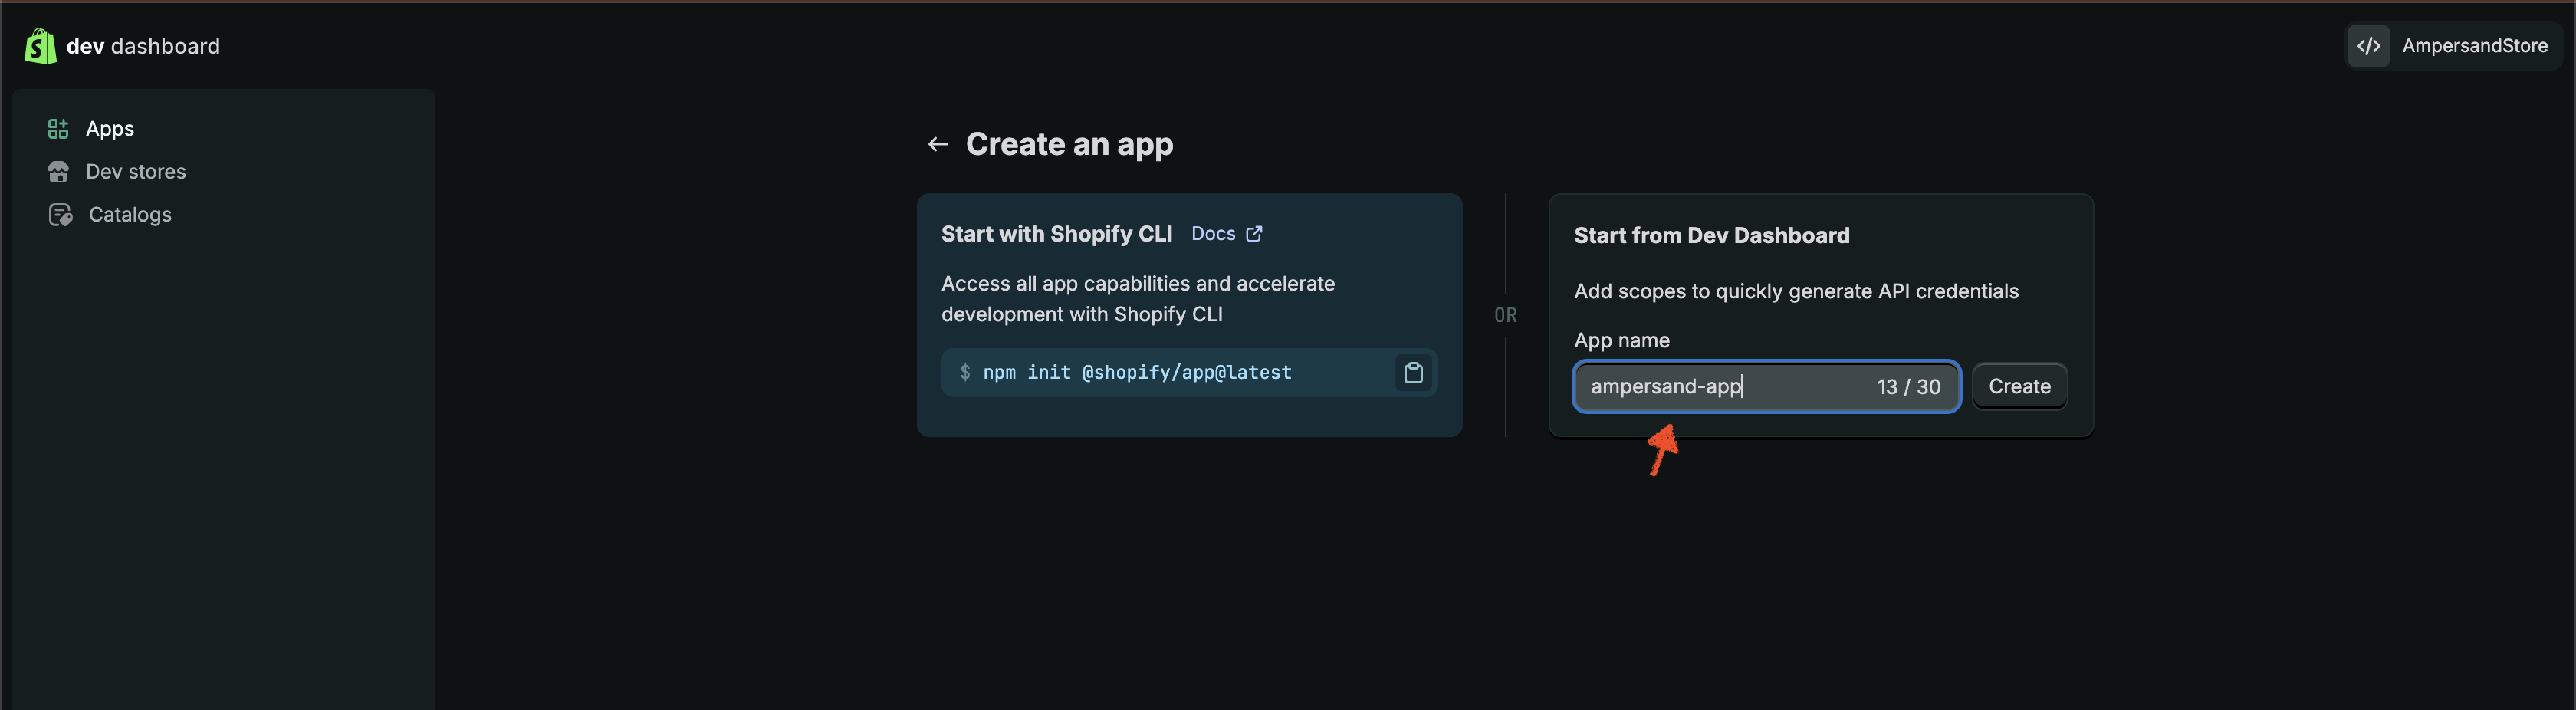
Shopify uses OAuth 2.0 (authorization code grant) for apps created in the Partner Dashboard. For Shopify’s full, up-to-date instructions for creating an app and configuring OAuth, see Shopify’s documentation: Create an app. At a high level:- Log in to the Shopify Partners portal and open Apps.

- Create an app. After the app is created, you’ll land on Create a version.
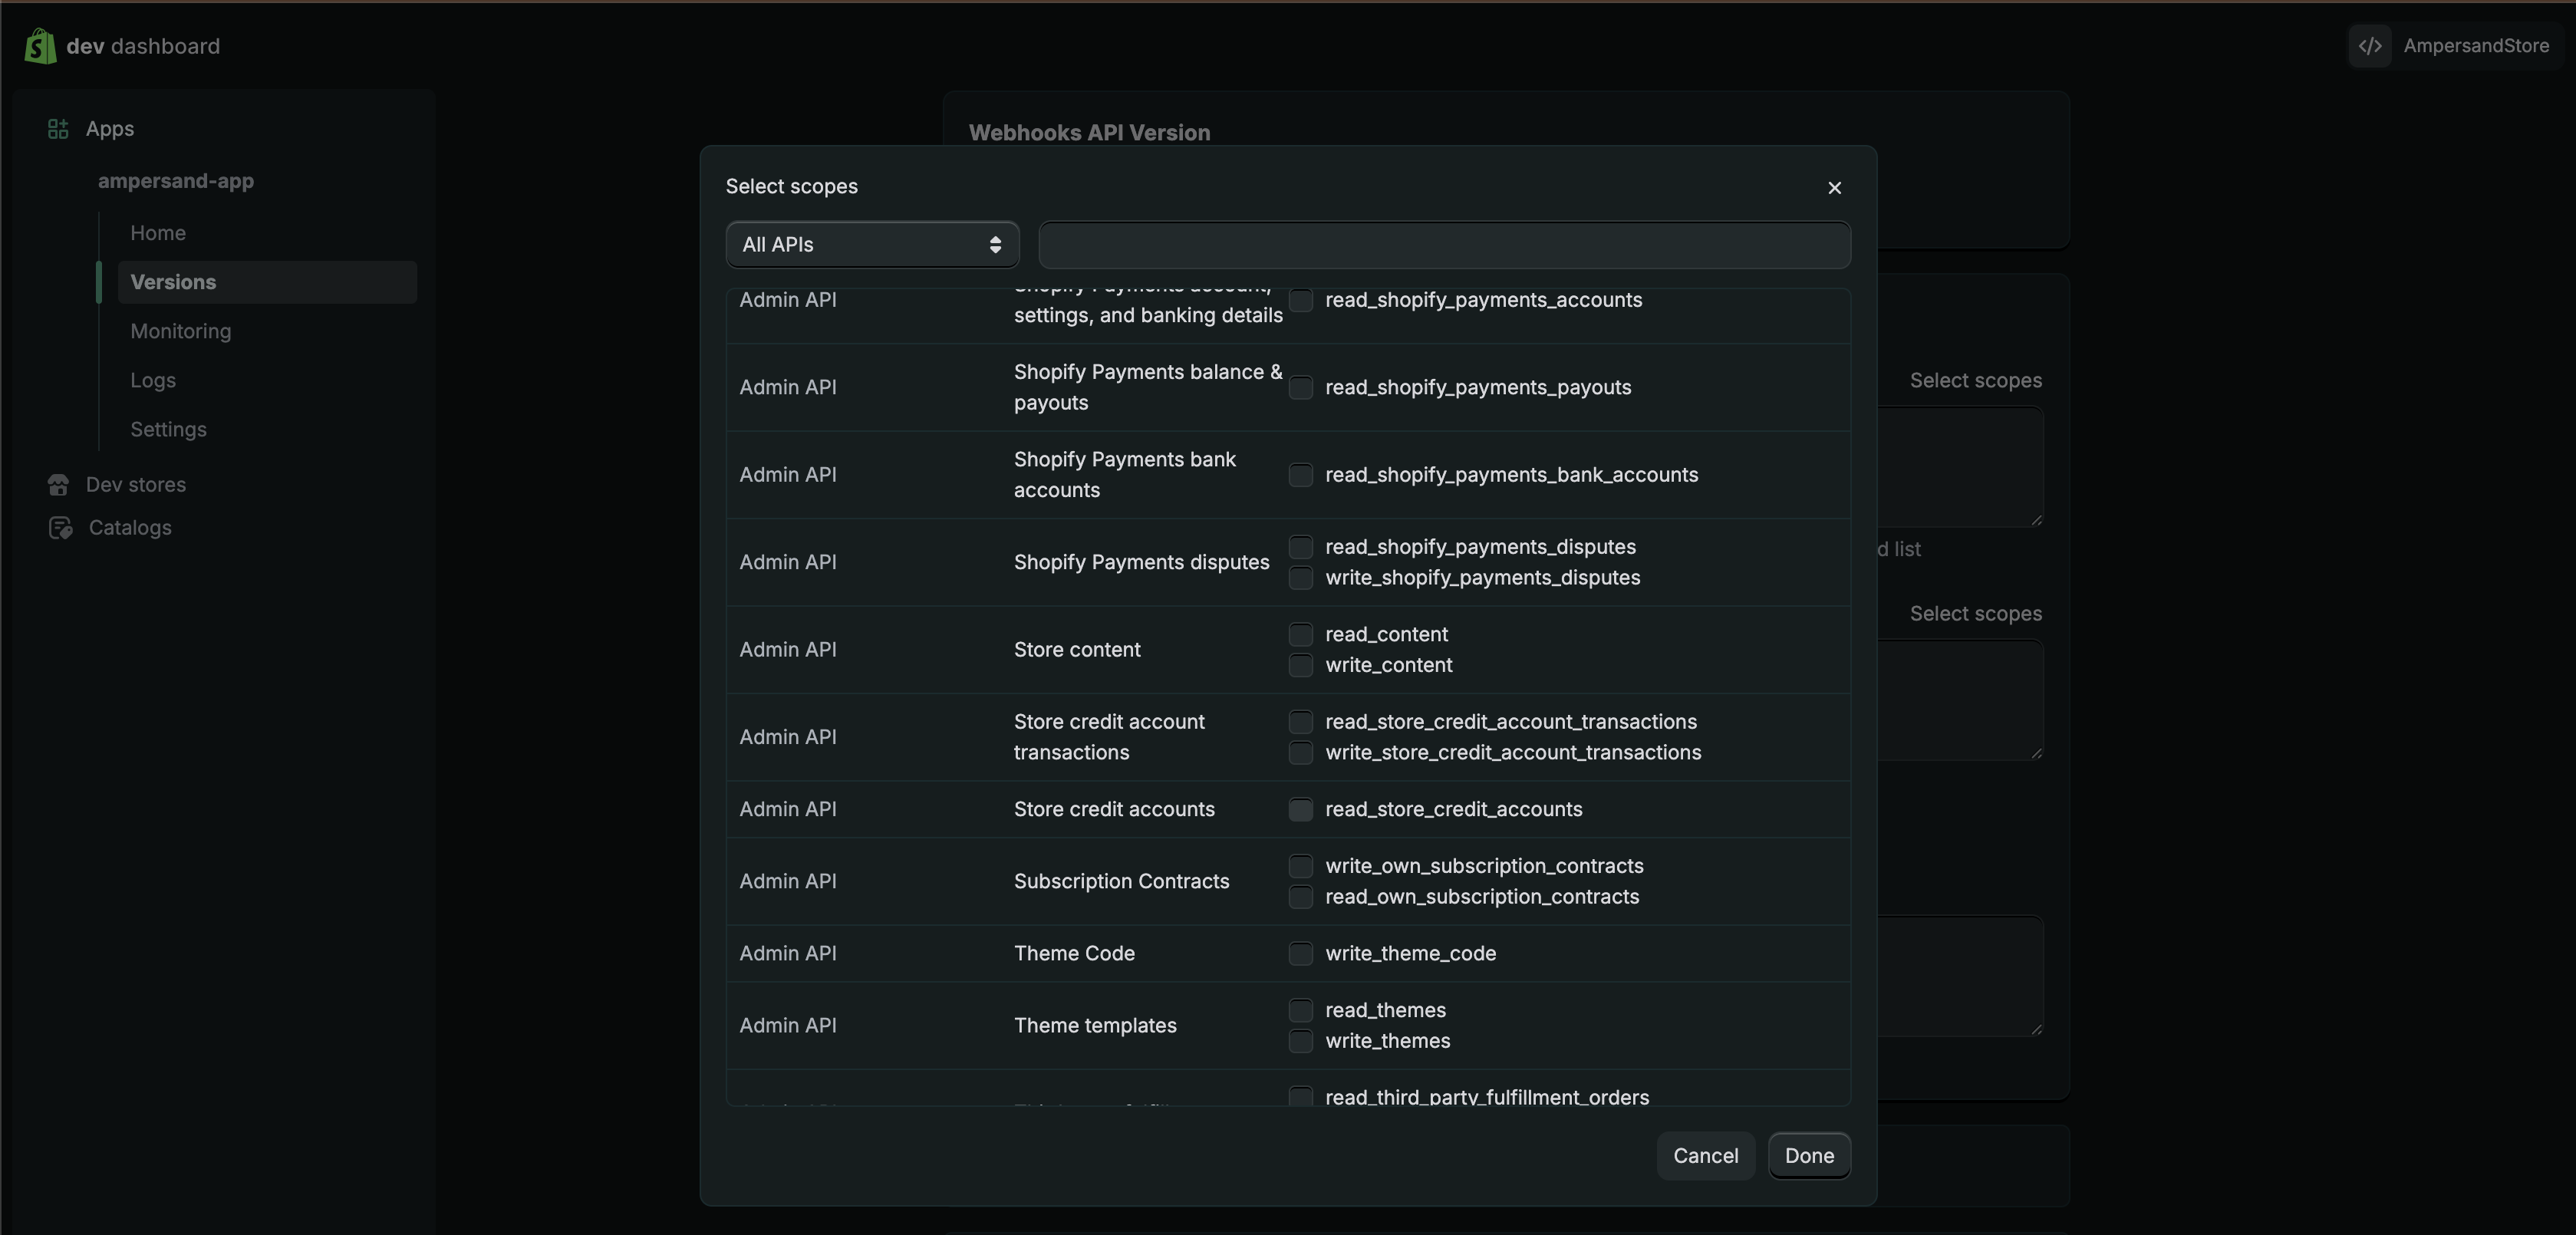
- Configure the access scopes your integration needs.
- Configure the OAuth redirect URL:
https://api.withampersand.com/callbacks/v1/oauth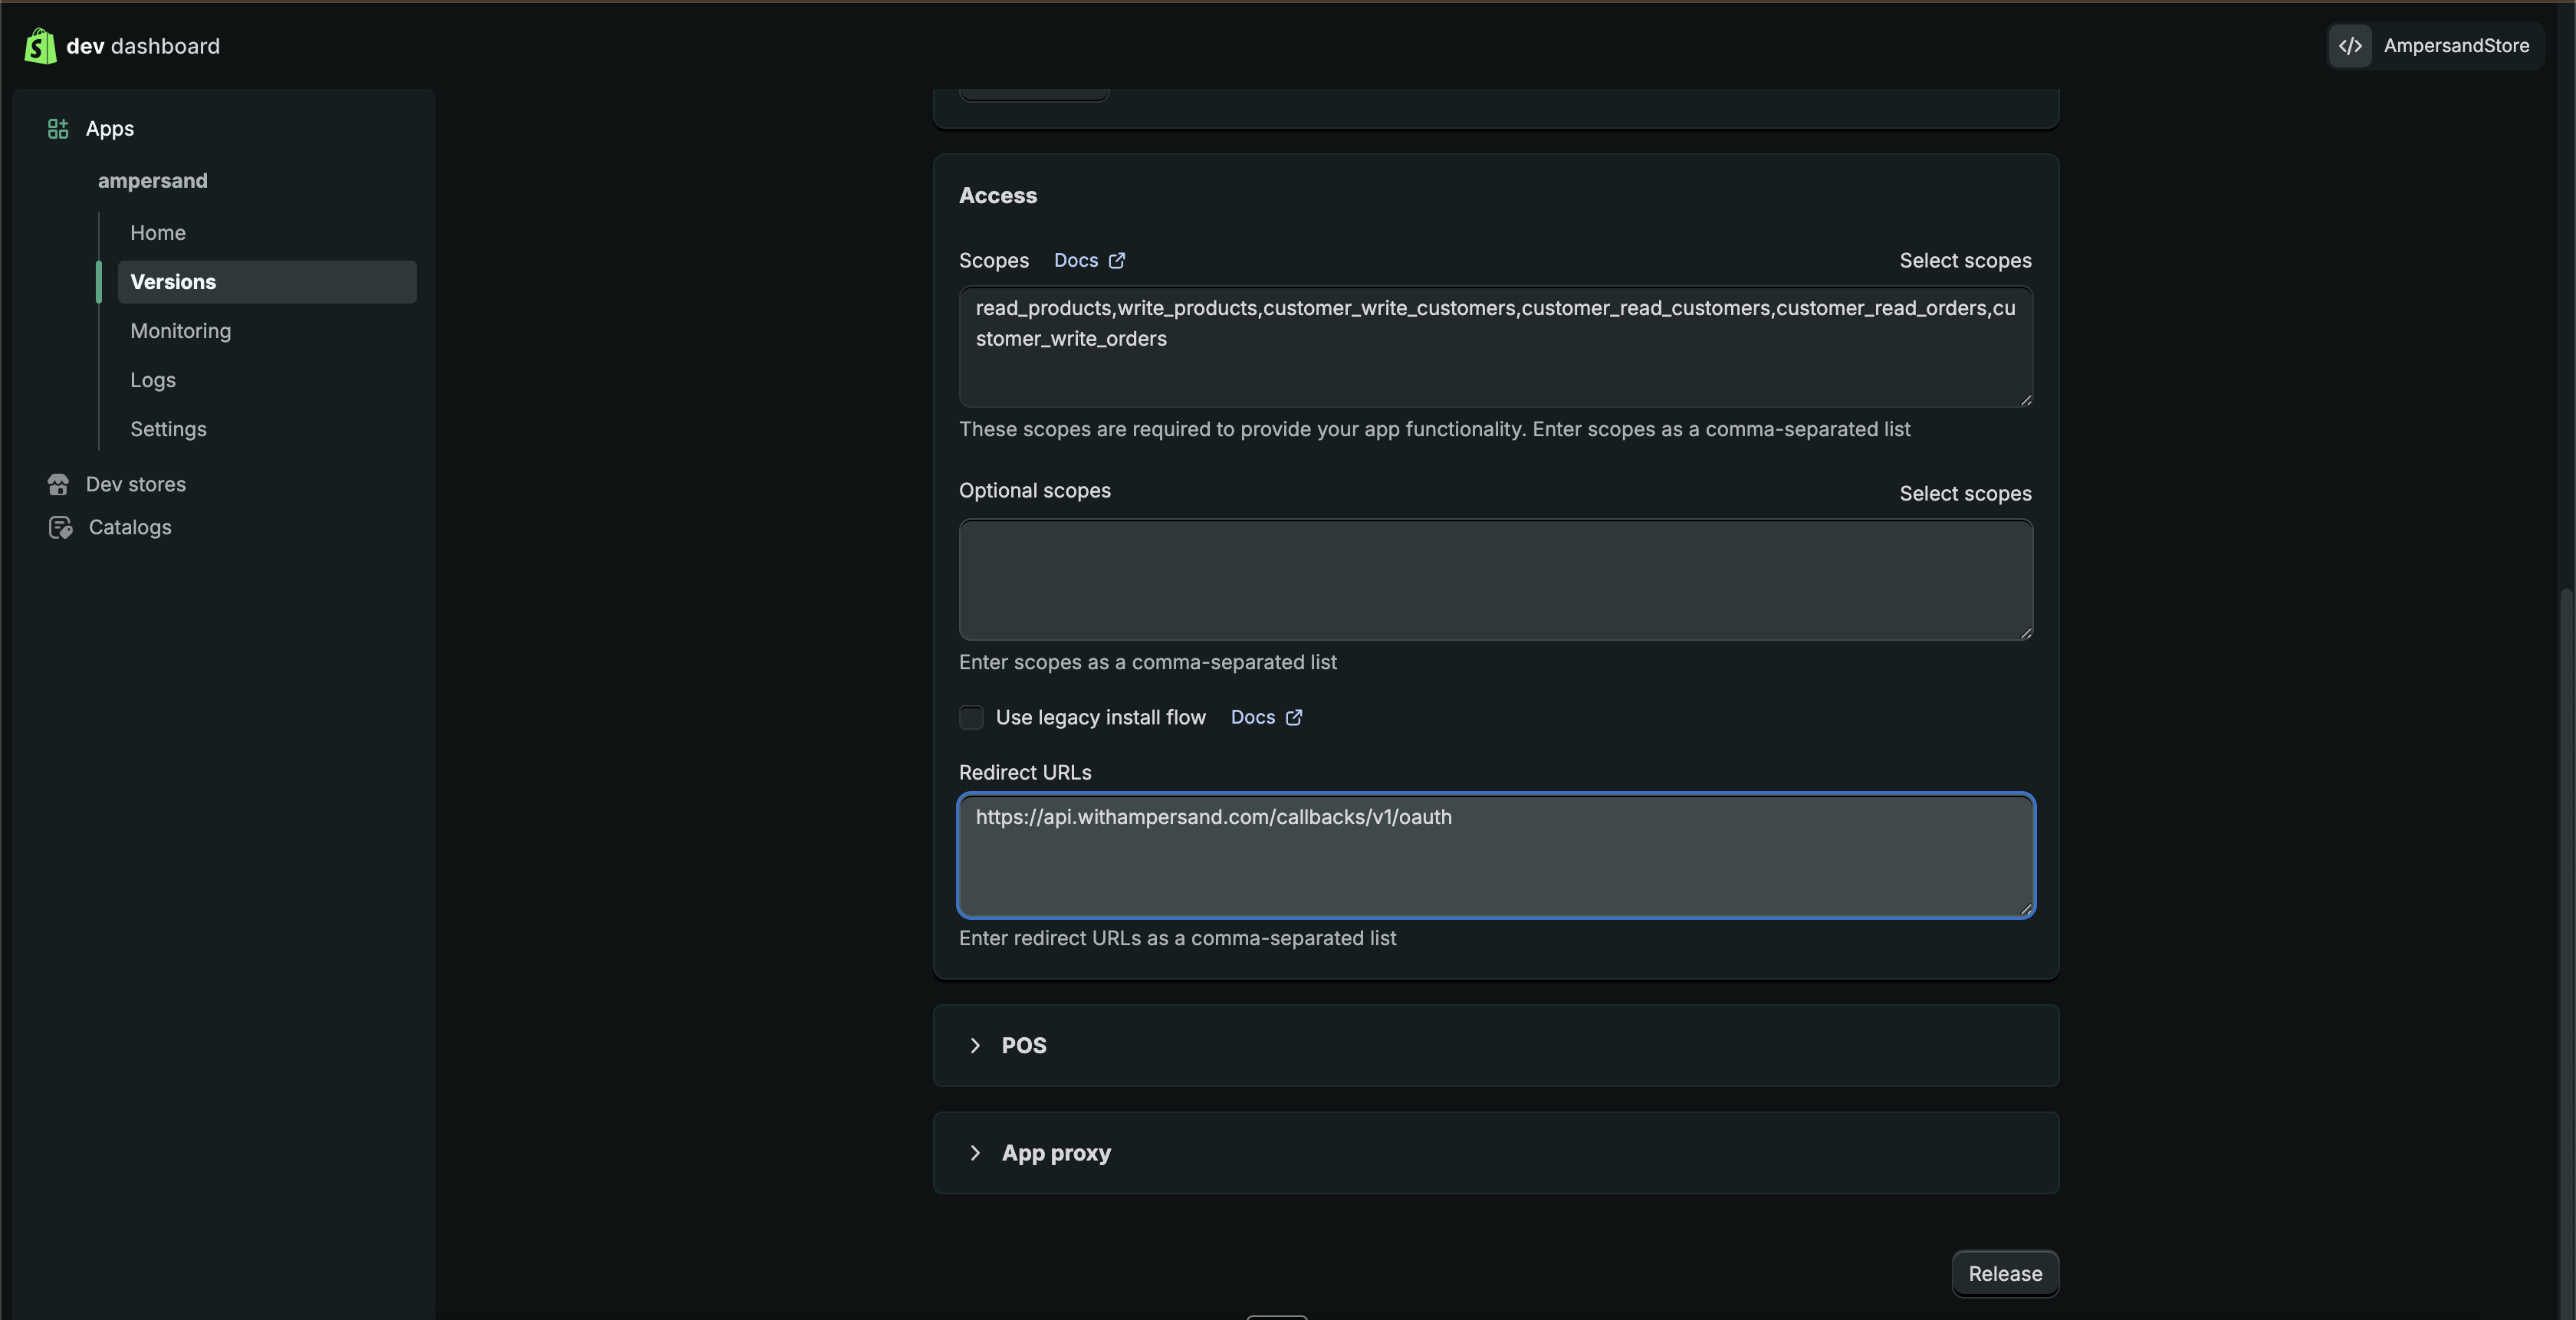
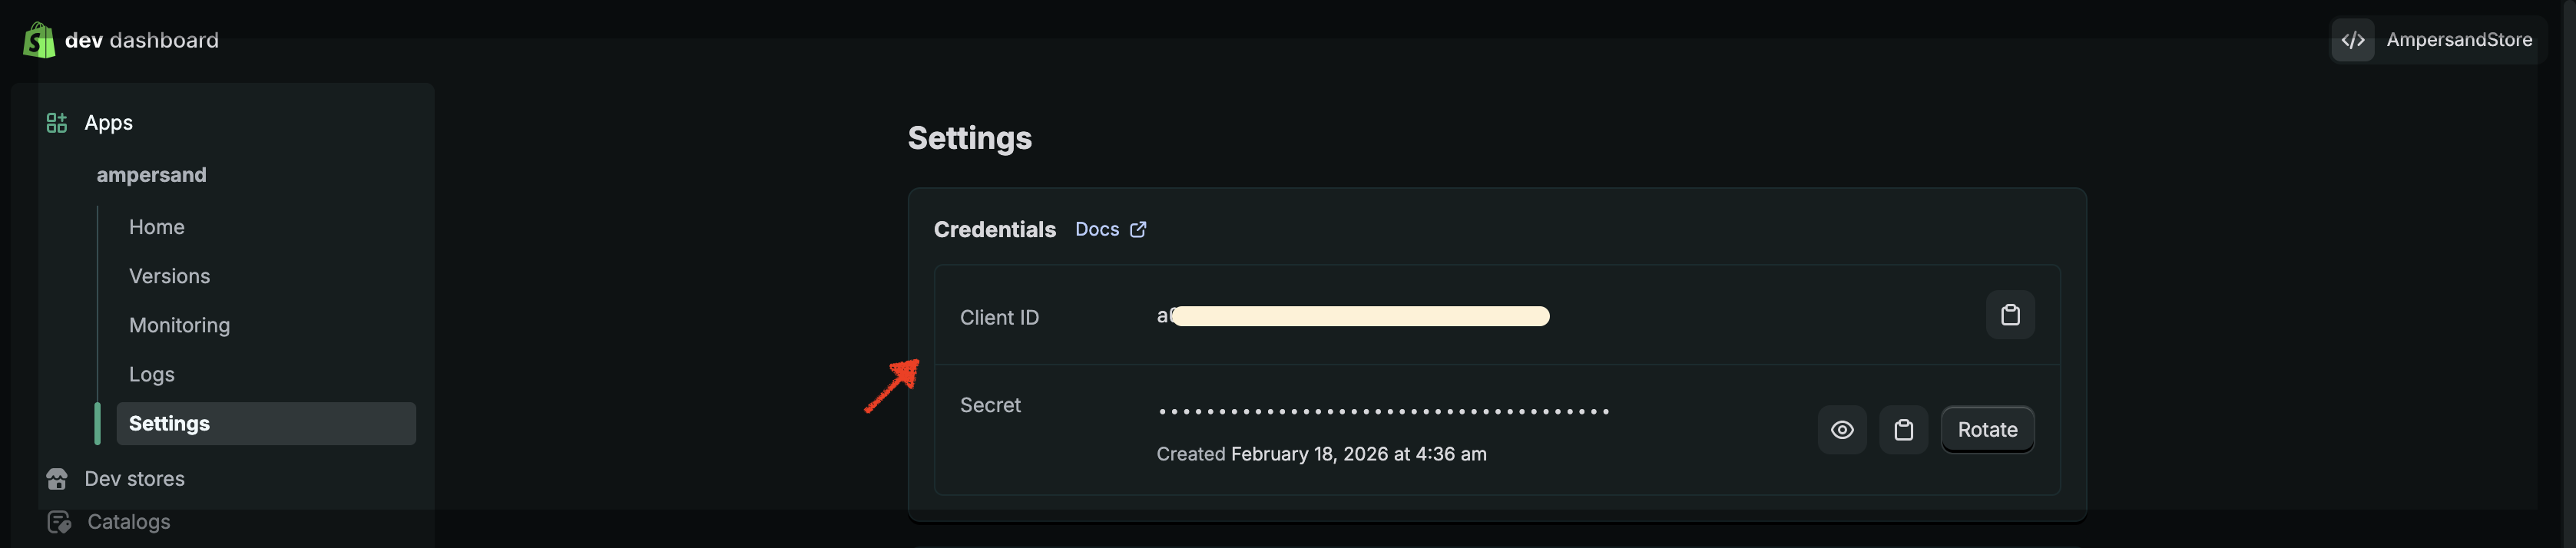
- Release the version. Then go to the app’s settings page and note the Client ID and Client Secret.
Protected customer data / approvals
Some Shopify scopes and objects (especially those that expose customer data) can require additional approval and compliance steps before Shopify will allow access. If you see errors like “This app is not approved to access the Customer object”, use the checklist below.- Confirm you actually need protected customer data: only request the minimum scopes and data required for your integration.
- Complete Shopify’s protected customer data requirements: follow Shopify’s guidance for requesting access and meeting the required compliance steps: Work with protected customer data.
Access to older orders
Shopify may restrict access to older orders unless you request additional scopes (for example,read_all_orders). See Shopify’s Orders API documentation for details.
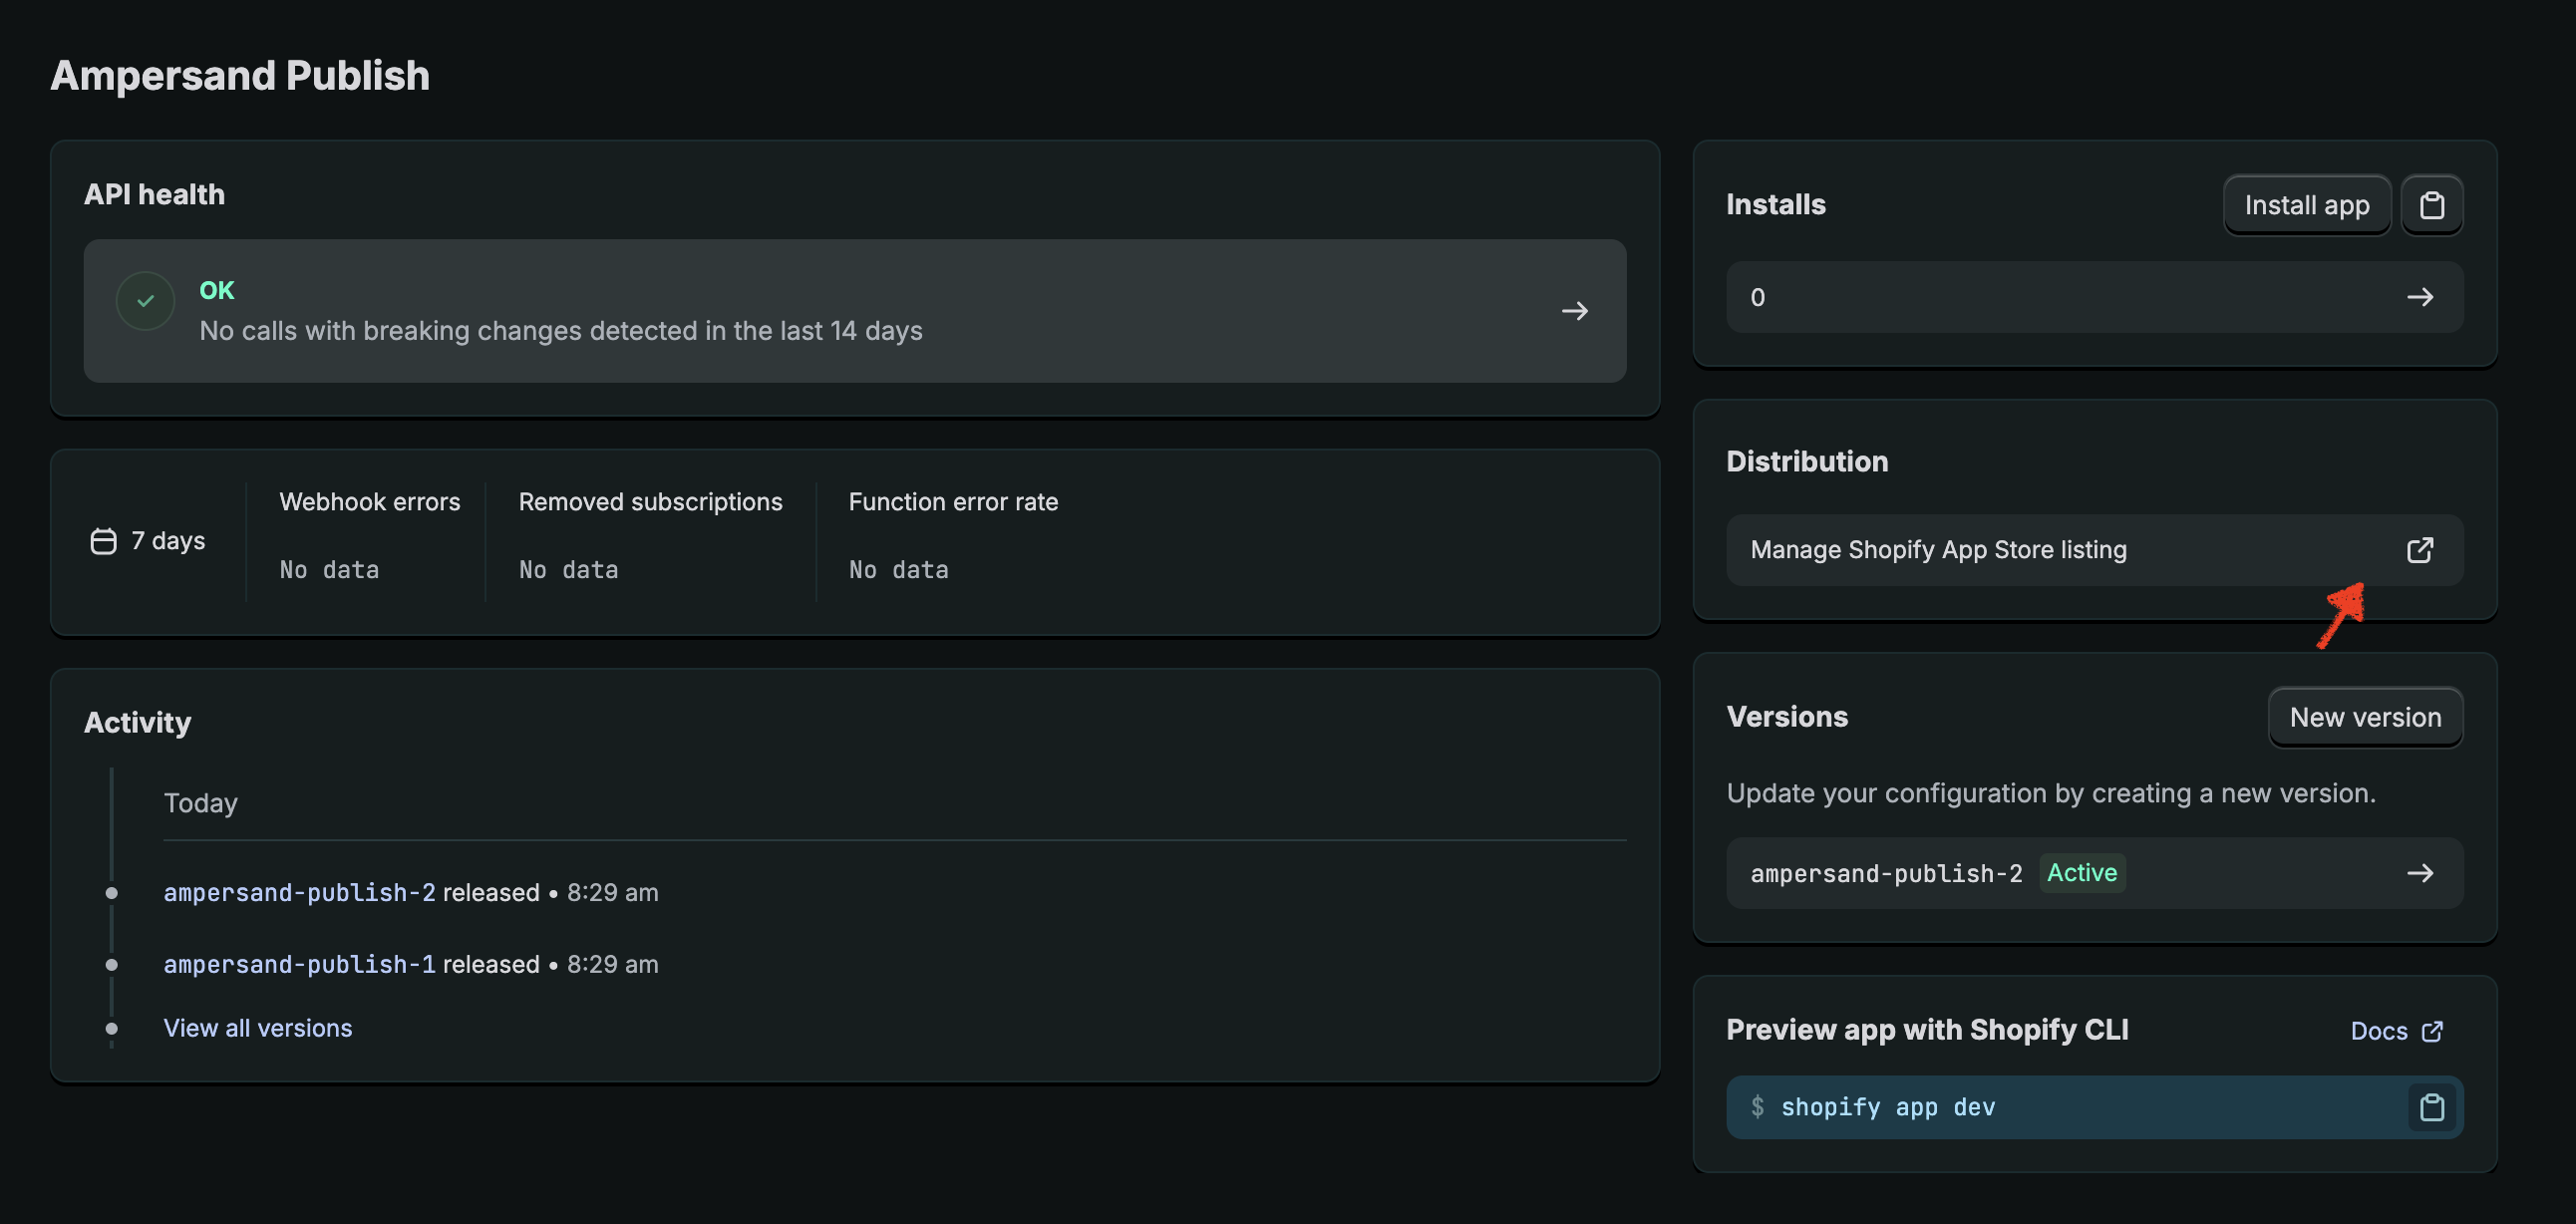
App distribution
Your app’s distribution method determines which stores can install it.- For installs across multiple Shopify stores: use Public distribution and publish an App Store listing.
- To keep the app from being searchable: set the App Store listing to limited visibility. Merchants can still install the app from the listing URL.
- About app distribution
- Select a distribution method
- App listing visibility
- Submit your app for review
Shopify also supports custom distribution install links, but this method is limited to a single store or stores within the same Plus organization (and certain development stores). For general third-party installs, follow the public distribution path described in the section below.
Share your Shopify app so merchants can install it
For a merchant to connect their Shopify store, they must install and authorize your Shopify app. That install step is what grants OAuth access for their store. If you want your app to be installable by multiple merchants, you must use Public distribution (an App Store listing). If you don’t want your app to appear in Shopify App Store search results, set the listing to limited visibility. Merchants can still install the app using the App Store listing URL (available after approval).Make the app installable (public, limited visibility)
- From your app’s home page, go to App distribution.
- Select a distribution method and choose Public distribution:
- Shopify guide: Select a distribution method
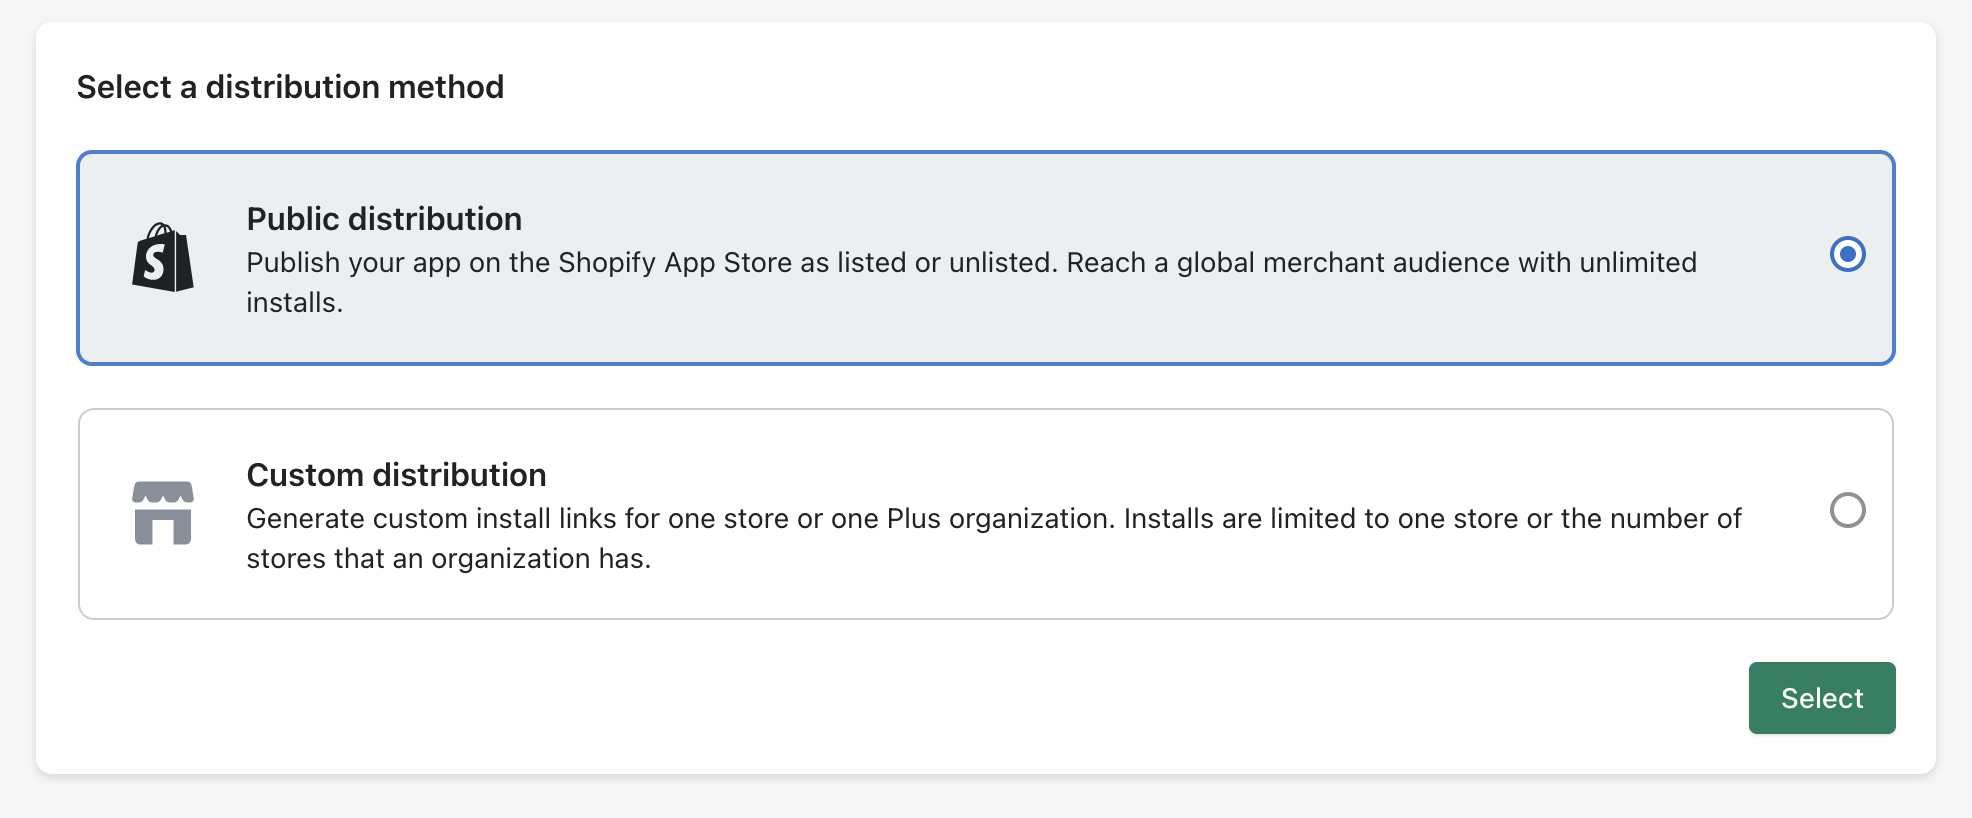
- Shopify guide: Select a distribution method
- Create an App Store listing and complete Shopify’s requirements:
- Shopify guide: App Store requirements
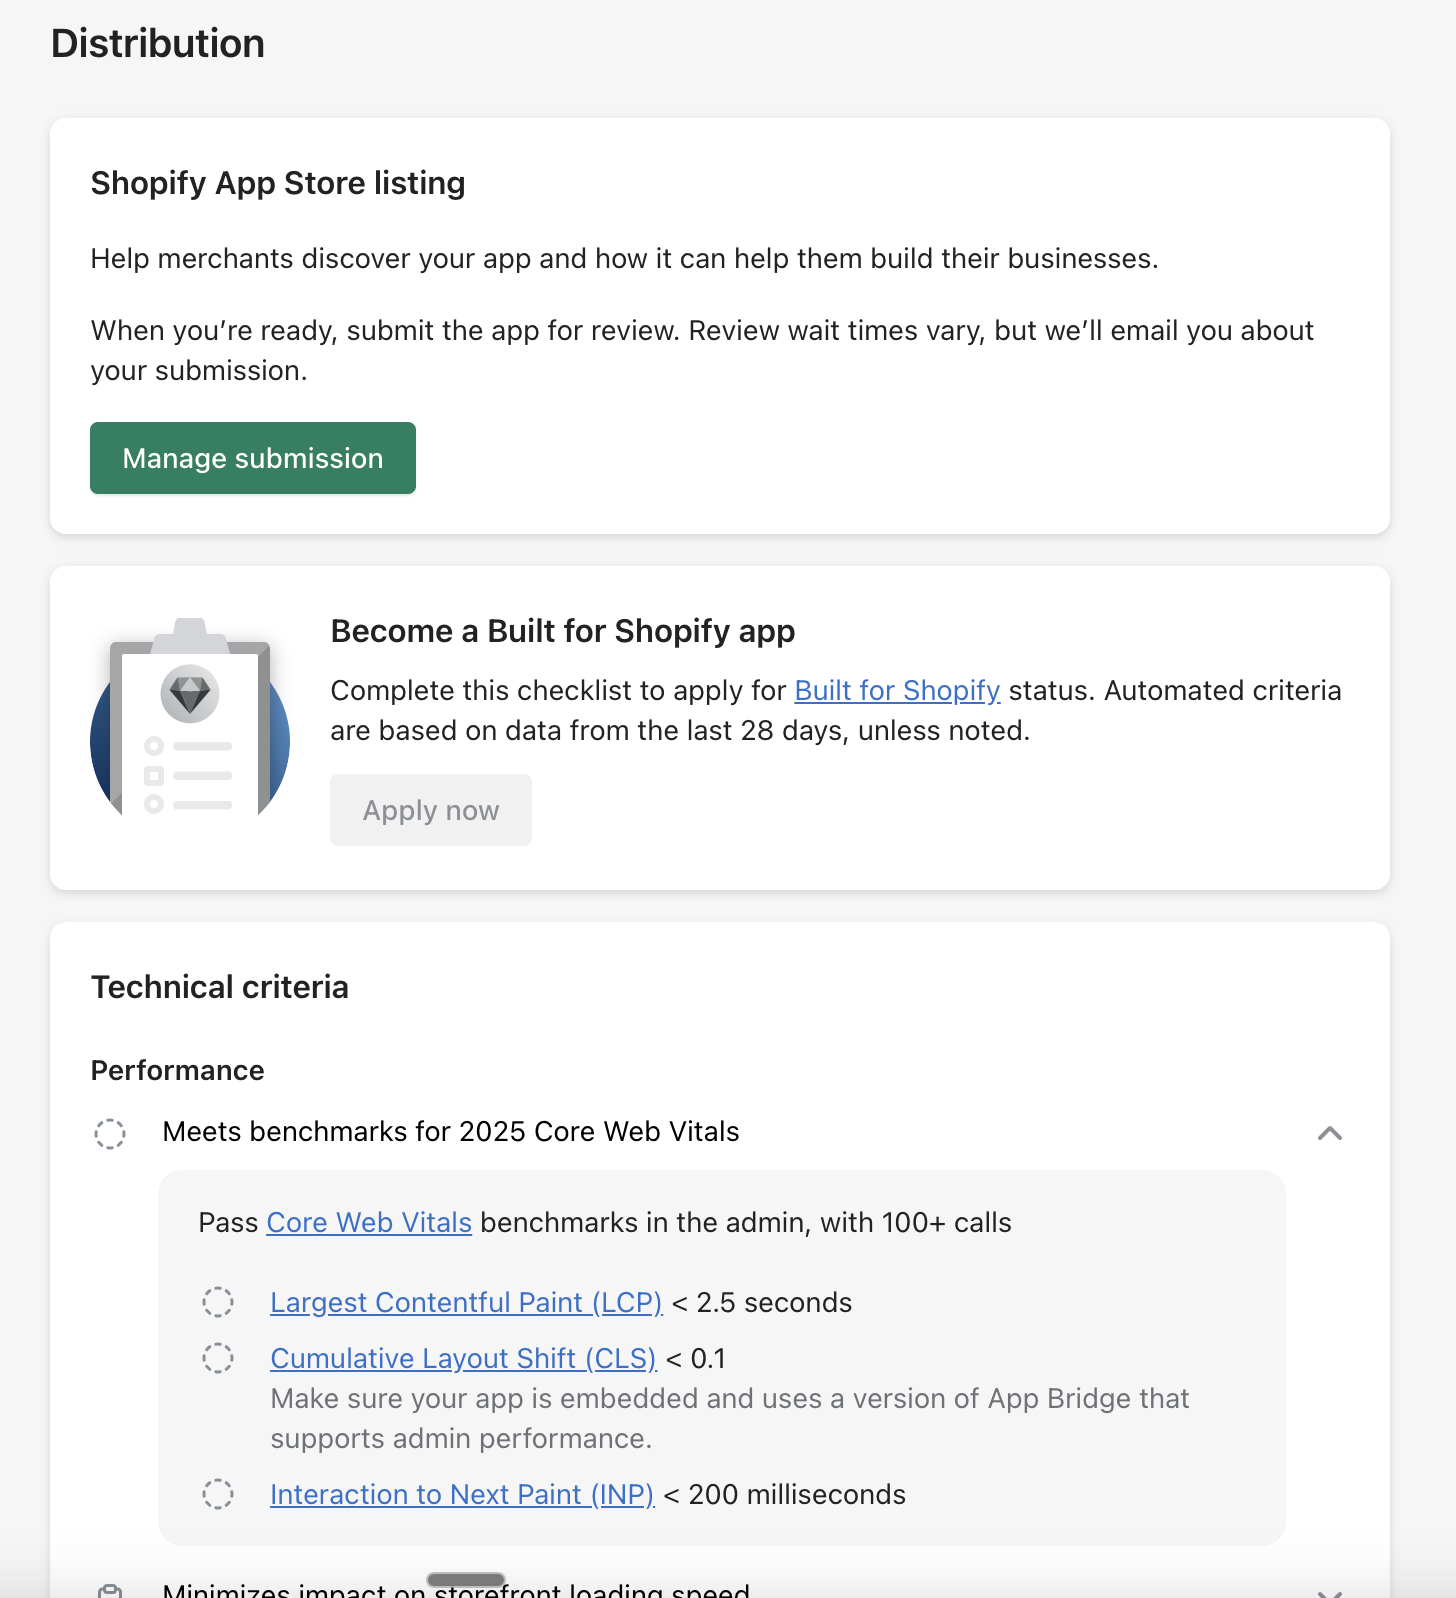
- Shopify guide: App Store requirements
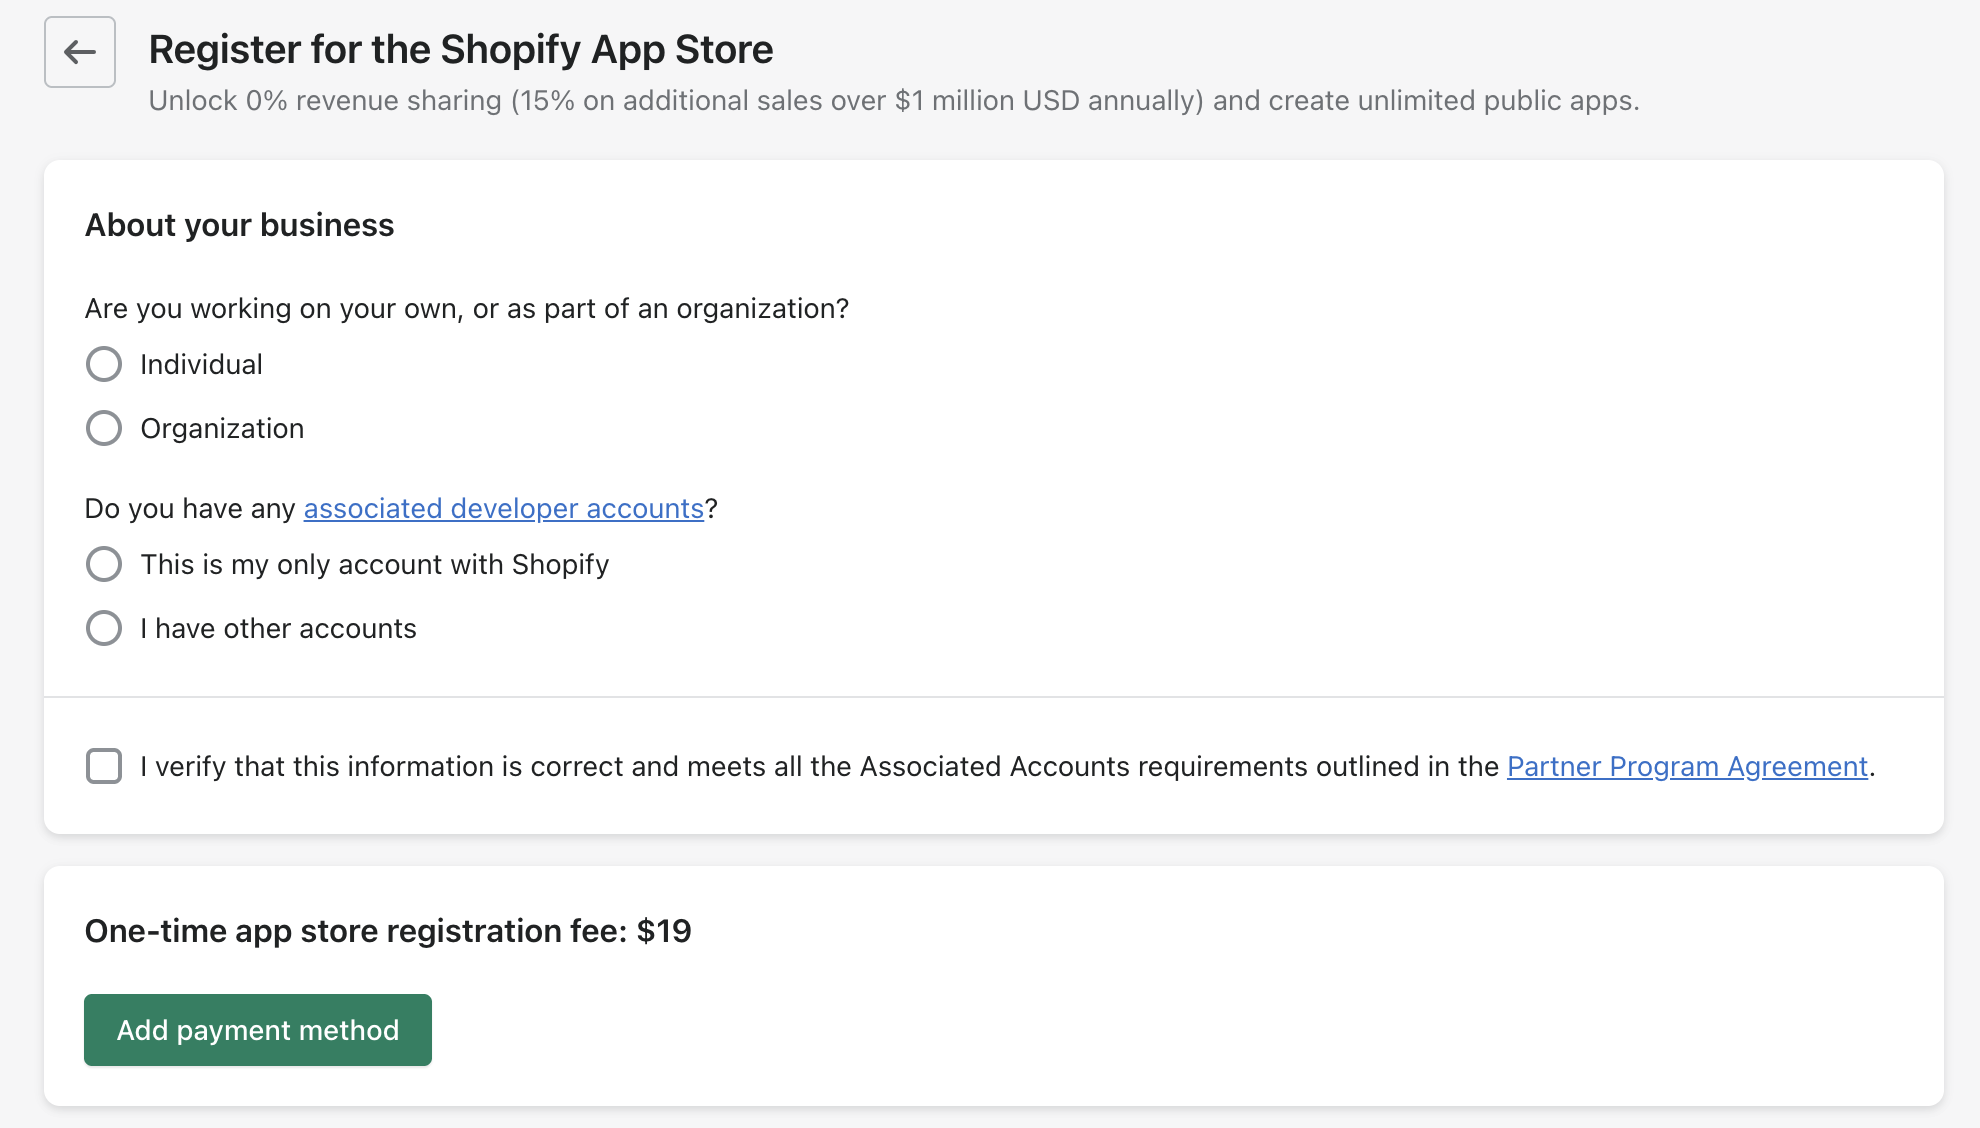
- Tell them about your business and add a credit card to pay $19 one-time app store registration fee.
- Set your app listing visibility to limited visibility (not searchable):
- Shopify guide: App listing visibility
- Submit your app for review:
- Shopify guide: Submit your app for review
- After Shopify approves your app, share the App Store listing URL so merchants can install it.
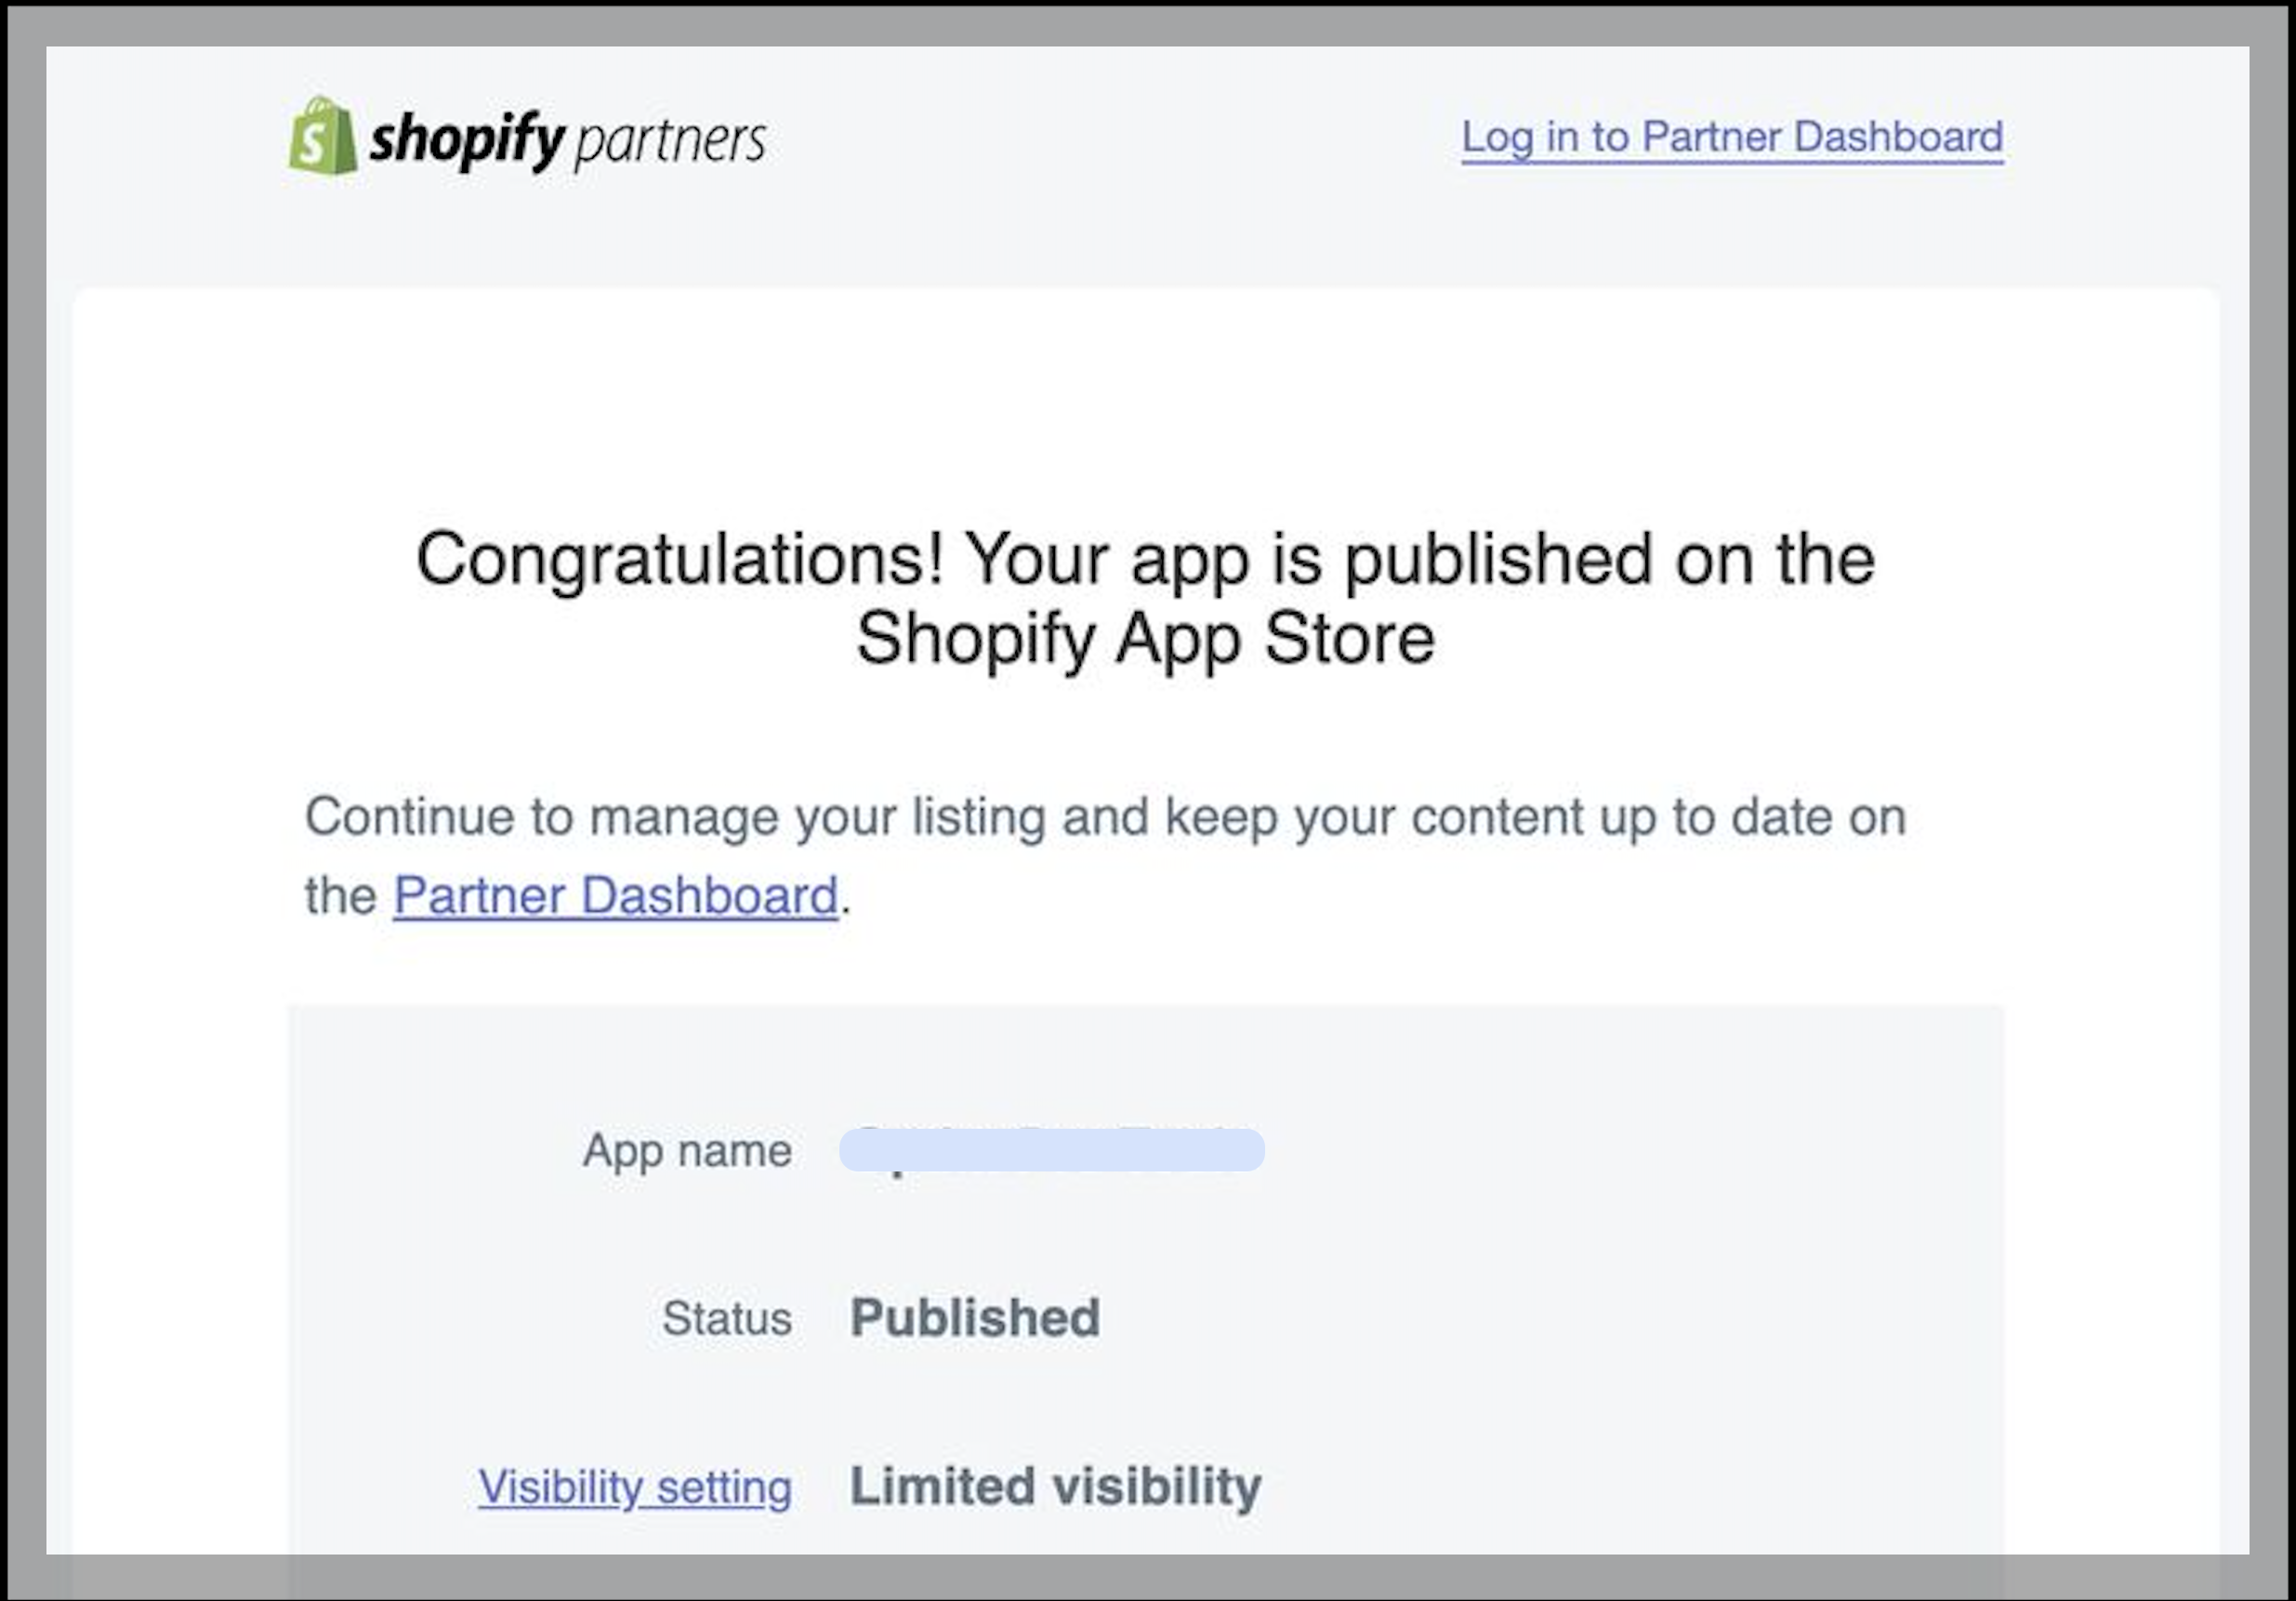
- Ask your customers to install the app from the App Store listing URL. For example:
Add your Shopify app info to Ampersand
- Log in to your Ampersand Dashboard.
- Select the project where you want to create a Shopify integration.

- Select Provider apps.
- Select Shopify from the Provider list.
- Enter the Client ID and Client Secret from your Shopify app and click Save changes.
Using the connector
To start integrating with Shopify:- Create a manifest file like the example.
- Deploy it using the amp CLI.
- If you are using Read Actions, create a destination.
- Embed the InstallIntegration UI component. The UI component will prompt the customer to connect their Shopify store via OAuth.
- If your integration has Read Actions, you’ll start getting webhook messages.
- If your integration has Write Actions, you can start making API calls to our Write API.
- If your integration has Proxy Actions, start making Proxy API calls. Ampersand will automatically attach the OAuth credentials for the connected store.