

What’s Supported
Supported Actions
This connector supports:- Read Actions, including full historic backfill for most objects. Incremental read is supported for
recordings,archive_files,meeting_summaries,activities_report,meetings,users_report,recordings_report,meetings_report,operation_logs_report,meeting_activities_report,telephone_report, andupcoming_events_report. For all other objects, a full read of the Zoom instance will be done per scheduled read. - Write Actions.
- Proxy Actions, using the base URL
https://api.zoom.us.
The following objects don’t support historic backfill:
users_report, recordings_report, meetings_report, operation_logs_report, meeting_activities_report, telephone_report, upcoming_events_report, and recordings. By default, the last 29 days are read. To retrieve more historical data, specify higher defaultPeriod in your read configuration.Supported Objects
The Zoom connector supports writing to and reading from the following objects:- activities_report (read only)
- archive_files (read only)
- billing_report (read only)
- contacts_groups (read and write)
- devices (read and write)
- devices_groups (read only)
- groups (read and write)
- h323_devices (read and write)
- meeting_activities_report (read only)
- meeting_summaries (read only)
- meeting_templates (read only)
- meetings (read and write)
- meetings_report (read only)
- operation_logs_report (read only)
- phones (read only)
- recordings (read only)
- recordings_report (read only)
- telephone_report (read only)
- tracking_fields (read and write)
- tsp (read and write)
- upcoming_events_report (read only)
- upcoming_meetings (read only)
- users (read and write)
- users_report (read only)
- webinars (read and write)
Example integration
For an example manifest file of an Zoom integration, visit our samples repo on Github.Before You Get Started
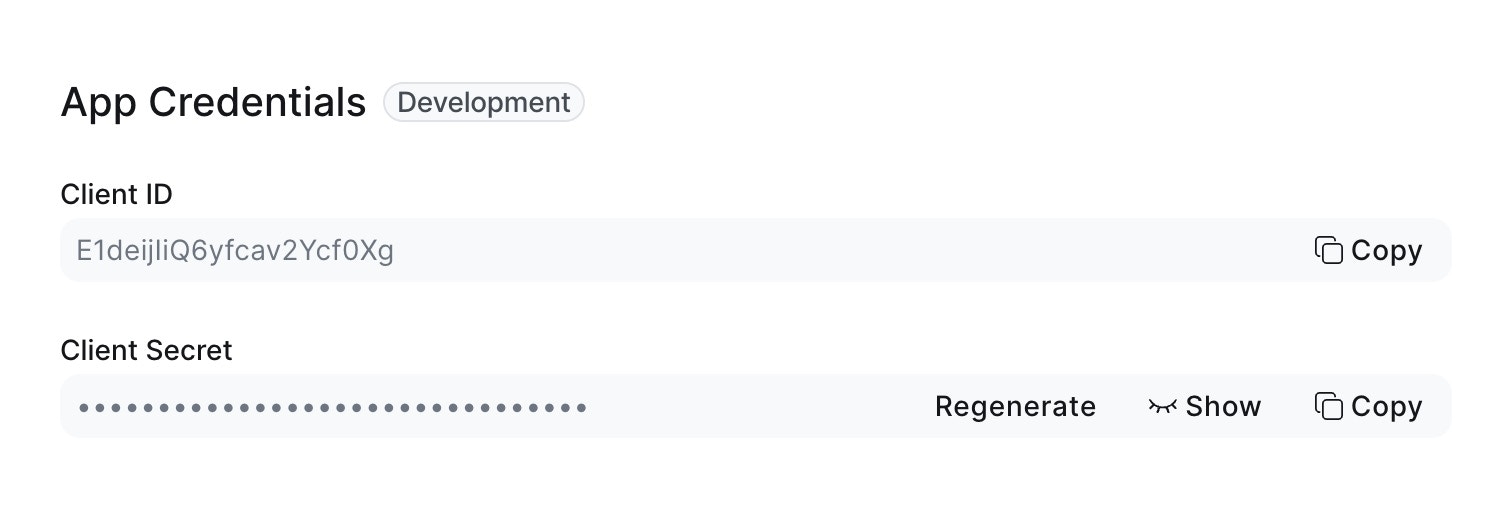
To connect Zoom with Ampersand, you will need a Zoom Account. Once your account is created, you’ll need to configure an app in Zoom and obtain the following credentials from your app:- Client ID
- Client Secret
Create a Zoom Account
Here’s how you can sign up for a Zoom account:- Go to the Zoom Sign Up page and create an account.
- Sign up using your preferred method.
Creating a Zoom App
Follow the steps below to create a Zoom app and add the Ampersand redirect URL:- Log in to your Zoom Marketplace account.
- Click on Develop in the top-right corner and select Build App.
- Choose the type of app you want to create. For this integration, select General App.
- Click Create.
-
In the OAuth Information section, enter the Ampersand redirect URL:
https://api.withampersand.com/callbacks/v1/oauth.
- Click Continue and go to Scopes.
- Select the applicable scopes for your app.
- Click Continue and in the Add your app section, click Add app to finalize your app setup.
Add Your Zoom App Info to Ampersand
- Log in to your Ampersand Dashboard.
-
Select the project where you want to create a Zoom integration.

- Select Provider apps.
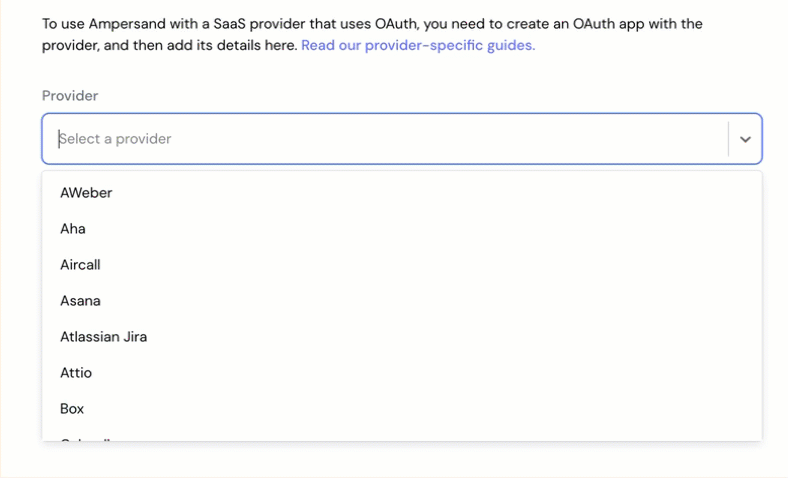
- Select Zoom from the Provider list.
-
Enter the previously obtained Client ID in the Client ID field and the Client Secret in the Client Secret field.
- Click Save changes.