

What’s Supported
Supported Actions
This connector supports:- Read Actions, including full historic backfill. Please note that incremental read is supported only for
gists,gists/starred,issues,gists/public,reposanduser/issuescurrently. For all other objects, a full read of the Github instance will be done per scheduled read. - Write Actions
- Proxy Actions, using the base URL
https://api.github.com
Supported Objects
The GitHub connector supports the following objects:- advisories (Read)
- blocks (Read)
- classrooms (Read)
- codes_of_conduct (Read)
- conflicts (Read)
- deliveries (Read)
- events (Read)
- followers (Read)
- following (Read)
- gists (Read, Write)
- gists/public (Read)
- gists/starred (Read)
- installation-requests (Read)
- installation/repositories (Read)
- issues (Read)
- licenses (Read)
- marketplace_listing/plans (Read)
- marketplace_listing/stubbed/plans (Read)
- marketplace_purchases (Read)
- migration (Read)
- organizations (Read)
- orgs (Read)
- packages (Read)
- public_emails (Read)
- repos (Read)
- repositories (Read)
- repository_invitations (Read)
- secrets (Read)
- stubbed (Read)
- subscriptions (Read)
- teams (Read)
- user/codespaces (Read, Write)
- user/emails (Read, Write)
- user/keys (Read, Write)
- user/gpg_keys (Read, Write)
- user/installations (Read)
- user/issues (Read)
- user/memberships/orgs (Read)
- user/starred (Read)
- user/ssh_signing_keys (Read, Write)
- user/social_accounts (Read, Write)
- users (Read)
Before you get started
To integrate GitHub with Ampersand, you will need a GitHub Account. Once your account is created, you’ll need to create a GitHub OAuth app and obtain the following credentials:- OAuth Client ID
- OAuth Client Secret
Creating a GitHub OAuth App
- Go to GitHub Developer Settings
- Click on “OAuth Apps” in the sidebar
- Click “New OAuth App”
- Fill in the application details:
- Application name: Your application name
- Homepage URL: Your application’s homepage URL
- Application description: (Optional) Description of your application
- Authorization callback URL:
https://api.withampersand.com/callbacks/v1/oauth
- Click “Register application”
- On the next screen, click “Generate a new client secret”
- Save your Client ID and Client Secret - you’ll need these for the next step
Add your GitHub App info to Ampersand
- Log in to your Ampersand Dashboard
- Select your project

- Go to Provider apps
- Select GitHub from the Provider list
- Enter your OAuth app credentials:
- Client ID
- Client Secret
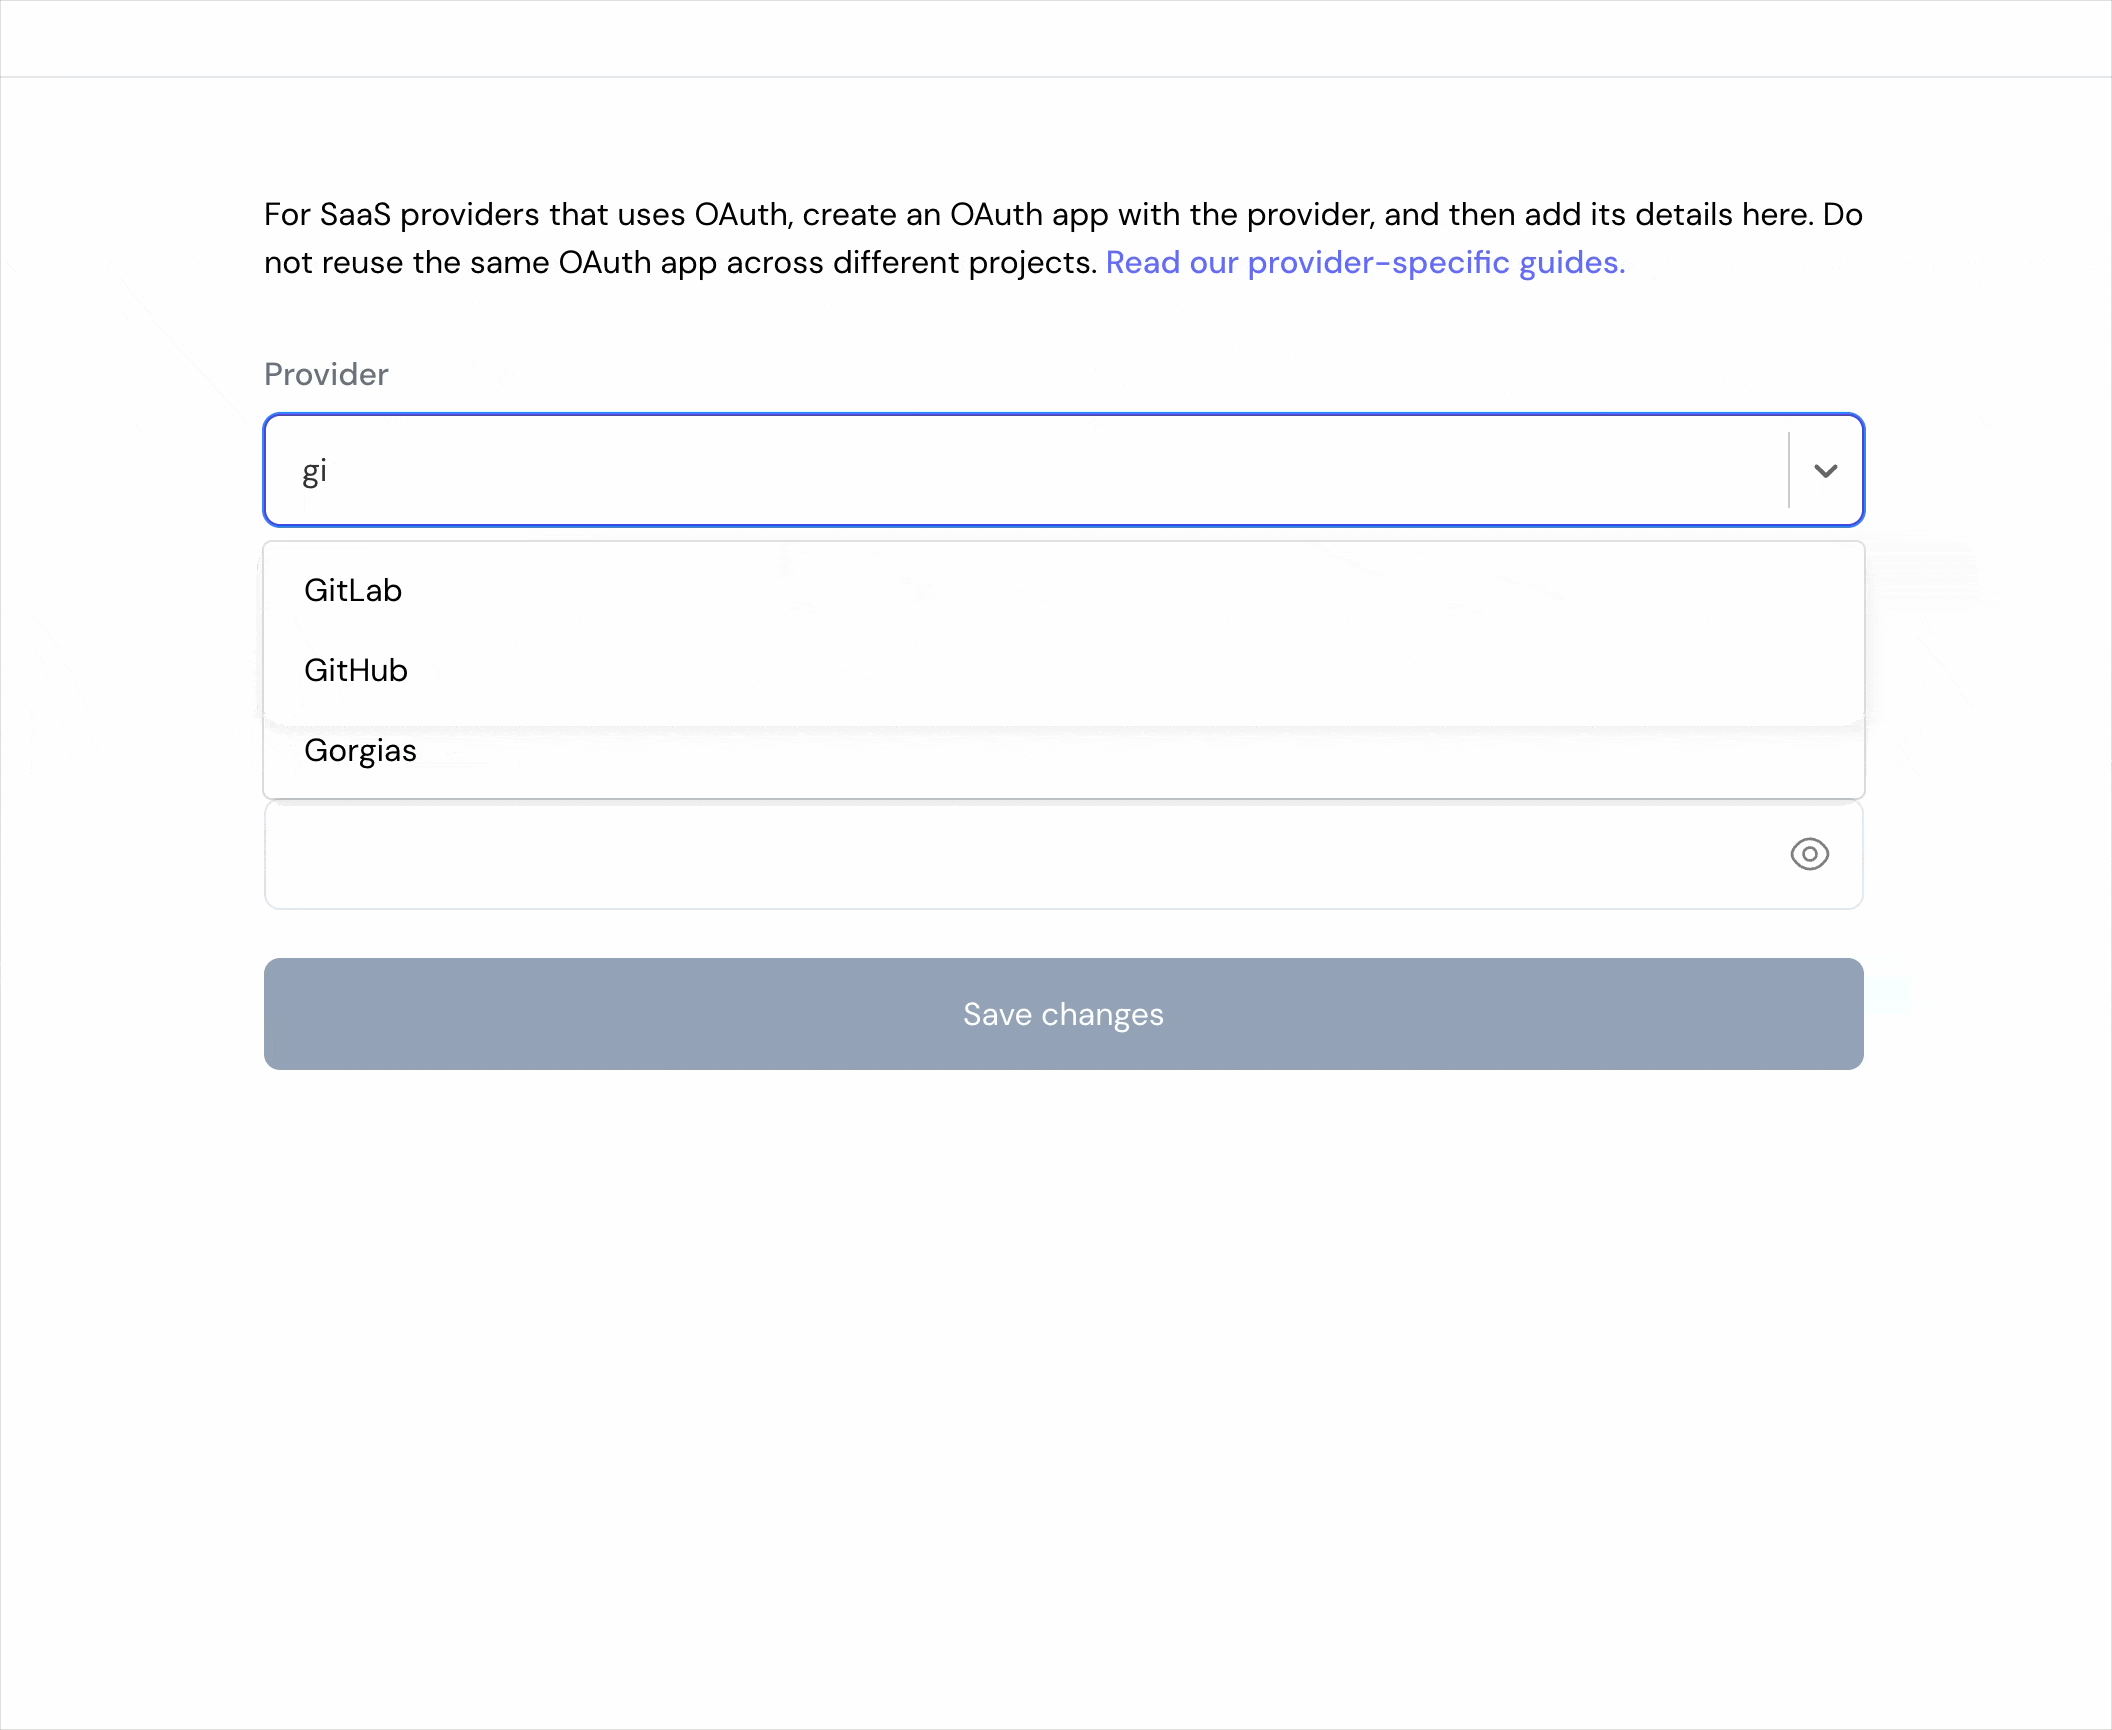
- Click Save changes
Using the connector
To start integrating with Github:- Create a manifest file like the example.
- Deploy it using the amp CLI.
- If you are using Read Actions, create a destination.
- Embed the InstallIntegration UI component.
- Start using the connector!
- If your integration has Read Actions, you’ll start getting webhook messages.
- If your integration has Write Actions, you can start making API calls to our Write API.
- If your integration has Proxy Actions, you can start making Proxy API calls.