

What’s supported
Supported actions
This connector supports:- Read Actions, including full historic backfill. Please note that incremental reading is only supported for
appointments,availability/classes,blocks. For all other objects, a full read of the Acuity Scheduling instance will be done per scheduled read. - Write Actions.
- Proxy Actions, using the base URL
https://acuityscheduling.com.
Supported objects
The Acuity Scheduling connector supports reading from the following objects:- appointments
- appointment-addons
- appointment-types
- availability/classes
- blocks
- calendars
- certificates
- clients
- forms
- labels
- orders
- products
Example integration
For an example manifest file of an Acuity Scheduling integration, visit our samples repo on Github.Before You Get Started
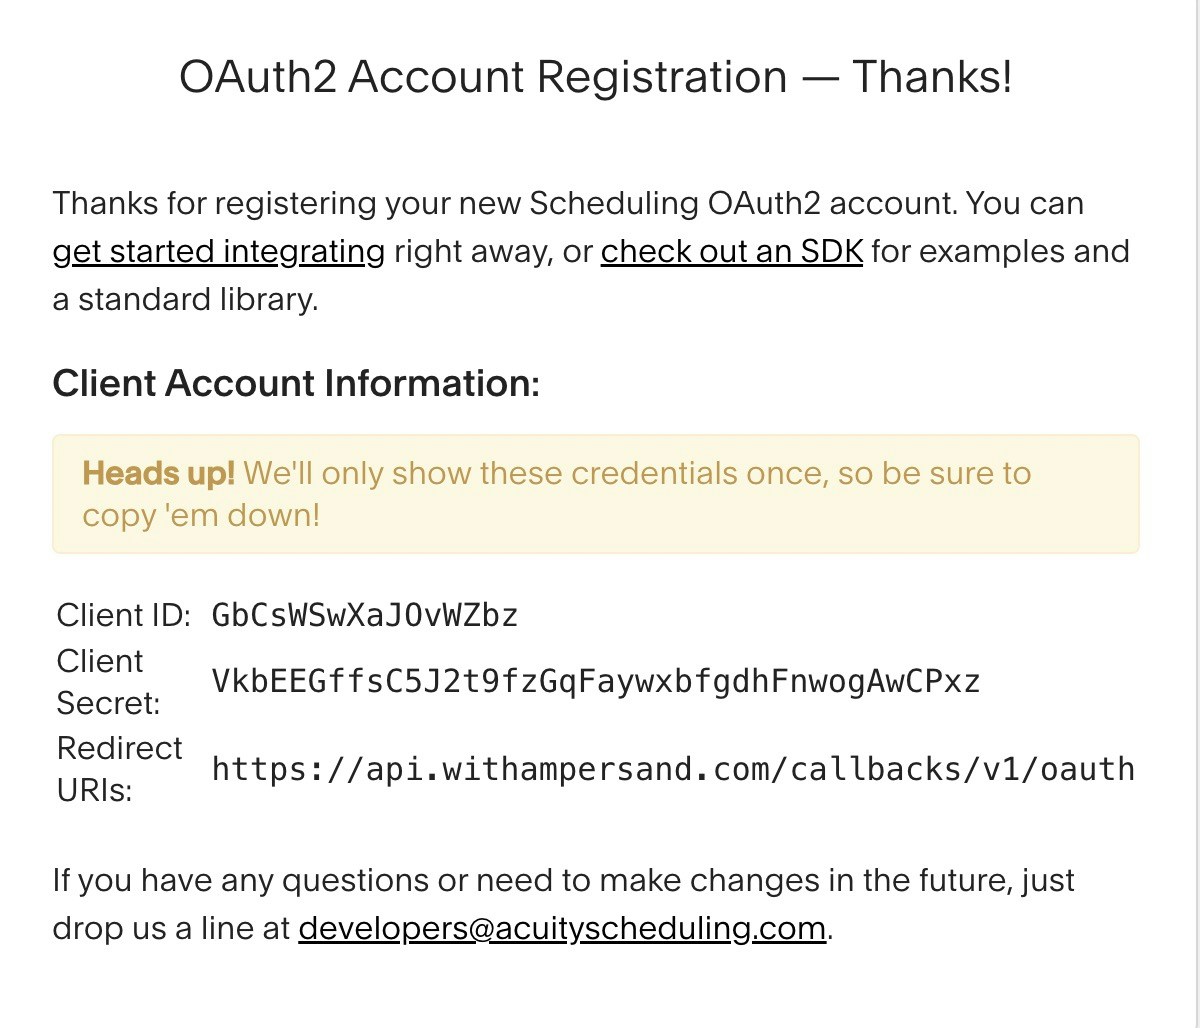
To integrate Acuity Scheduling with Ampersand, you will need an Acuity Scheduling Account. Once your account is created, you’ll need to register an Oauth app and obtain the following credentials from your app:- Client ID
- Client Secret
- Scopes
Create an Acuity Scheduling Account
Here’s how you can sign up for an Acuity Scheduling account:- Go to the Acuity Scheduling Sign Up page.
- Sign up using your preferred method and complete any necessary verification.
Creating an Acuity Scheduling App
Follow the steps below to create an Acuity Scheduling app:- Go to Acuity Scheduling OAuth2 Account Registration.
- Enter the following details:
- **Account Name: **The name of your Acuity Scheduling account or organization.
- **Email Address: **The email address associated with your Acuity Scheduling account. This will be used for communication regarding your app.
- **Website: **The URL of your application’s website. This helps users understand what your application does.
- Application Description: A brief description of your application and its purpose.
- Callback URIs: Enter the Redirect URI as
https://api.withampersand.com/callbacks/v1/oauth. This URI is where users will be redirected after authorizing your app.
- Click Save.

Add Your Acuity Scheduling App Info to Ampersand
- Log in to your Ampersand Dashboard.
-
Select the project where you want to create an Acuity Scheduling integration.

- Select Provider Apps.
- Select Acuity Scheduling from the Provider list.
- Enter the previously obtained Client ID in the Client ID field and the Client Secret in the Client Secret field.
-
Enter the scopes set for your application in Acuity Scheduling.
- Click Save Changes.
Using the connector
To start integrating with Acuity Scheduling:- Create a manifest file like the example above.
- Deploy it using the amp CLI.
- If you are using Read Actions, create a destination.
- Embed the InstallIntegration UI component. The UI component will prompt the customer for OAuth authorization.
- Start using the connector!
- If your integration has Read Actions, you’ll start getting webhook messages.
- If your integration has Write Actions, you can start making API calls to our Write API.
- If your integration has Proxy Actions, you can start making Proxy API calls.